[Joe is a Senior Glacier Hydrologist at the International Centre for Integrated Mountain Development in Kathmandu, Nepal]
True fact: there have been not one but two workshops dedicated specifically to the installation of automatic weather stations (AWS) on glaciers.

One of the biggest unknowns in how glaciers will respond to climate change are the meteorological conditions and melt rates at the glacier surface, and how these conditions relate to data from standard observation networks and/or climate reanalysis products. But setting up precise sensors on a surface that can move, melt, and be buried by snow – sometimes all of these in the same day – is a big challenge. Unfortunately, for all challenges (including drinking milk upside down through a straw) you either learn by experience (AKA “mistakes”), or you learn from the experiences of others. For some reason I’ve tended to go with the former.
Our recent AWS installation at Yala Glacier is another attempt to obtain a year-long record of meteorological conditions at 5350 m in the Himalayas. At this altitude, temperatures are rarely above zero and the melt of snow or ice is basically controlled by the radiation balance at the surface (see below for a more technical discussion). So our station will record radiation received and emitted or reflected by the surface, air temperature and relative humidity, wind speed and direction, and surface height changes from melt and snowfall.
Experience tells us that ‘floating’ weather stations, such as tripods that simply sit on the top of the surface, don’t work so well on glaciers. The surface melts down unevenly, the station can be buried and damaged by heavy snowfall, and there is no way to get a record of surface lowering: the surface height sensor needs to be mounted at a fixed height in order to get information that makes any sense.

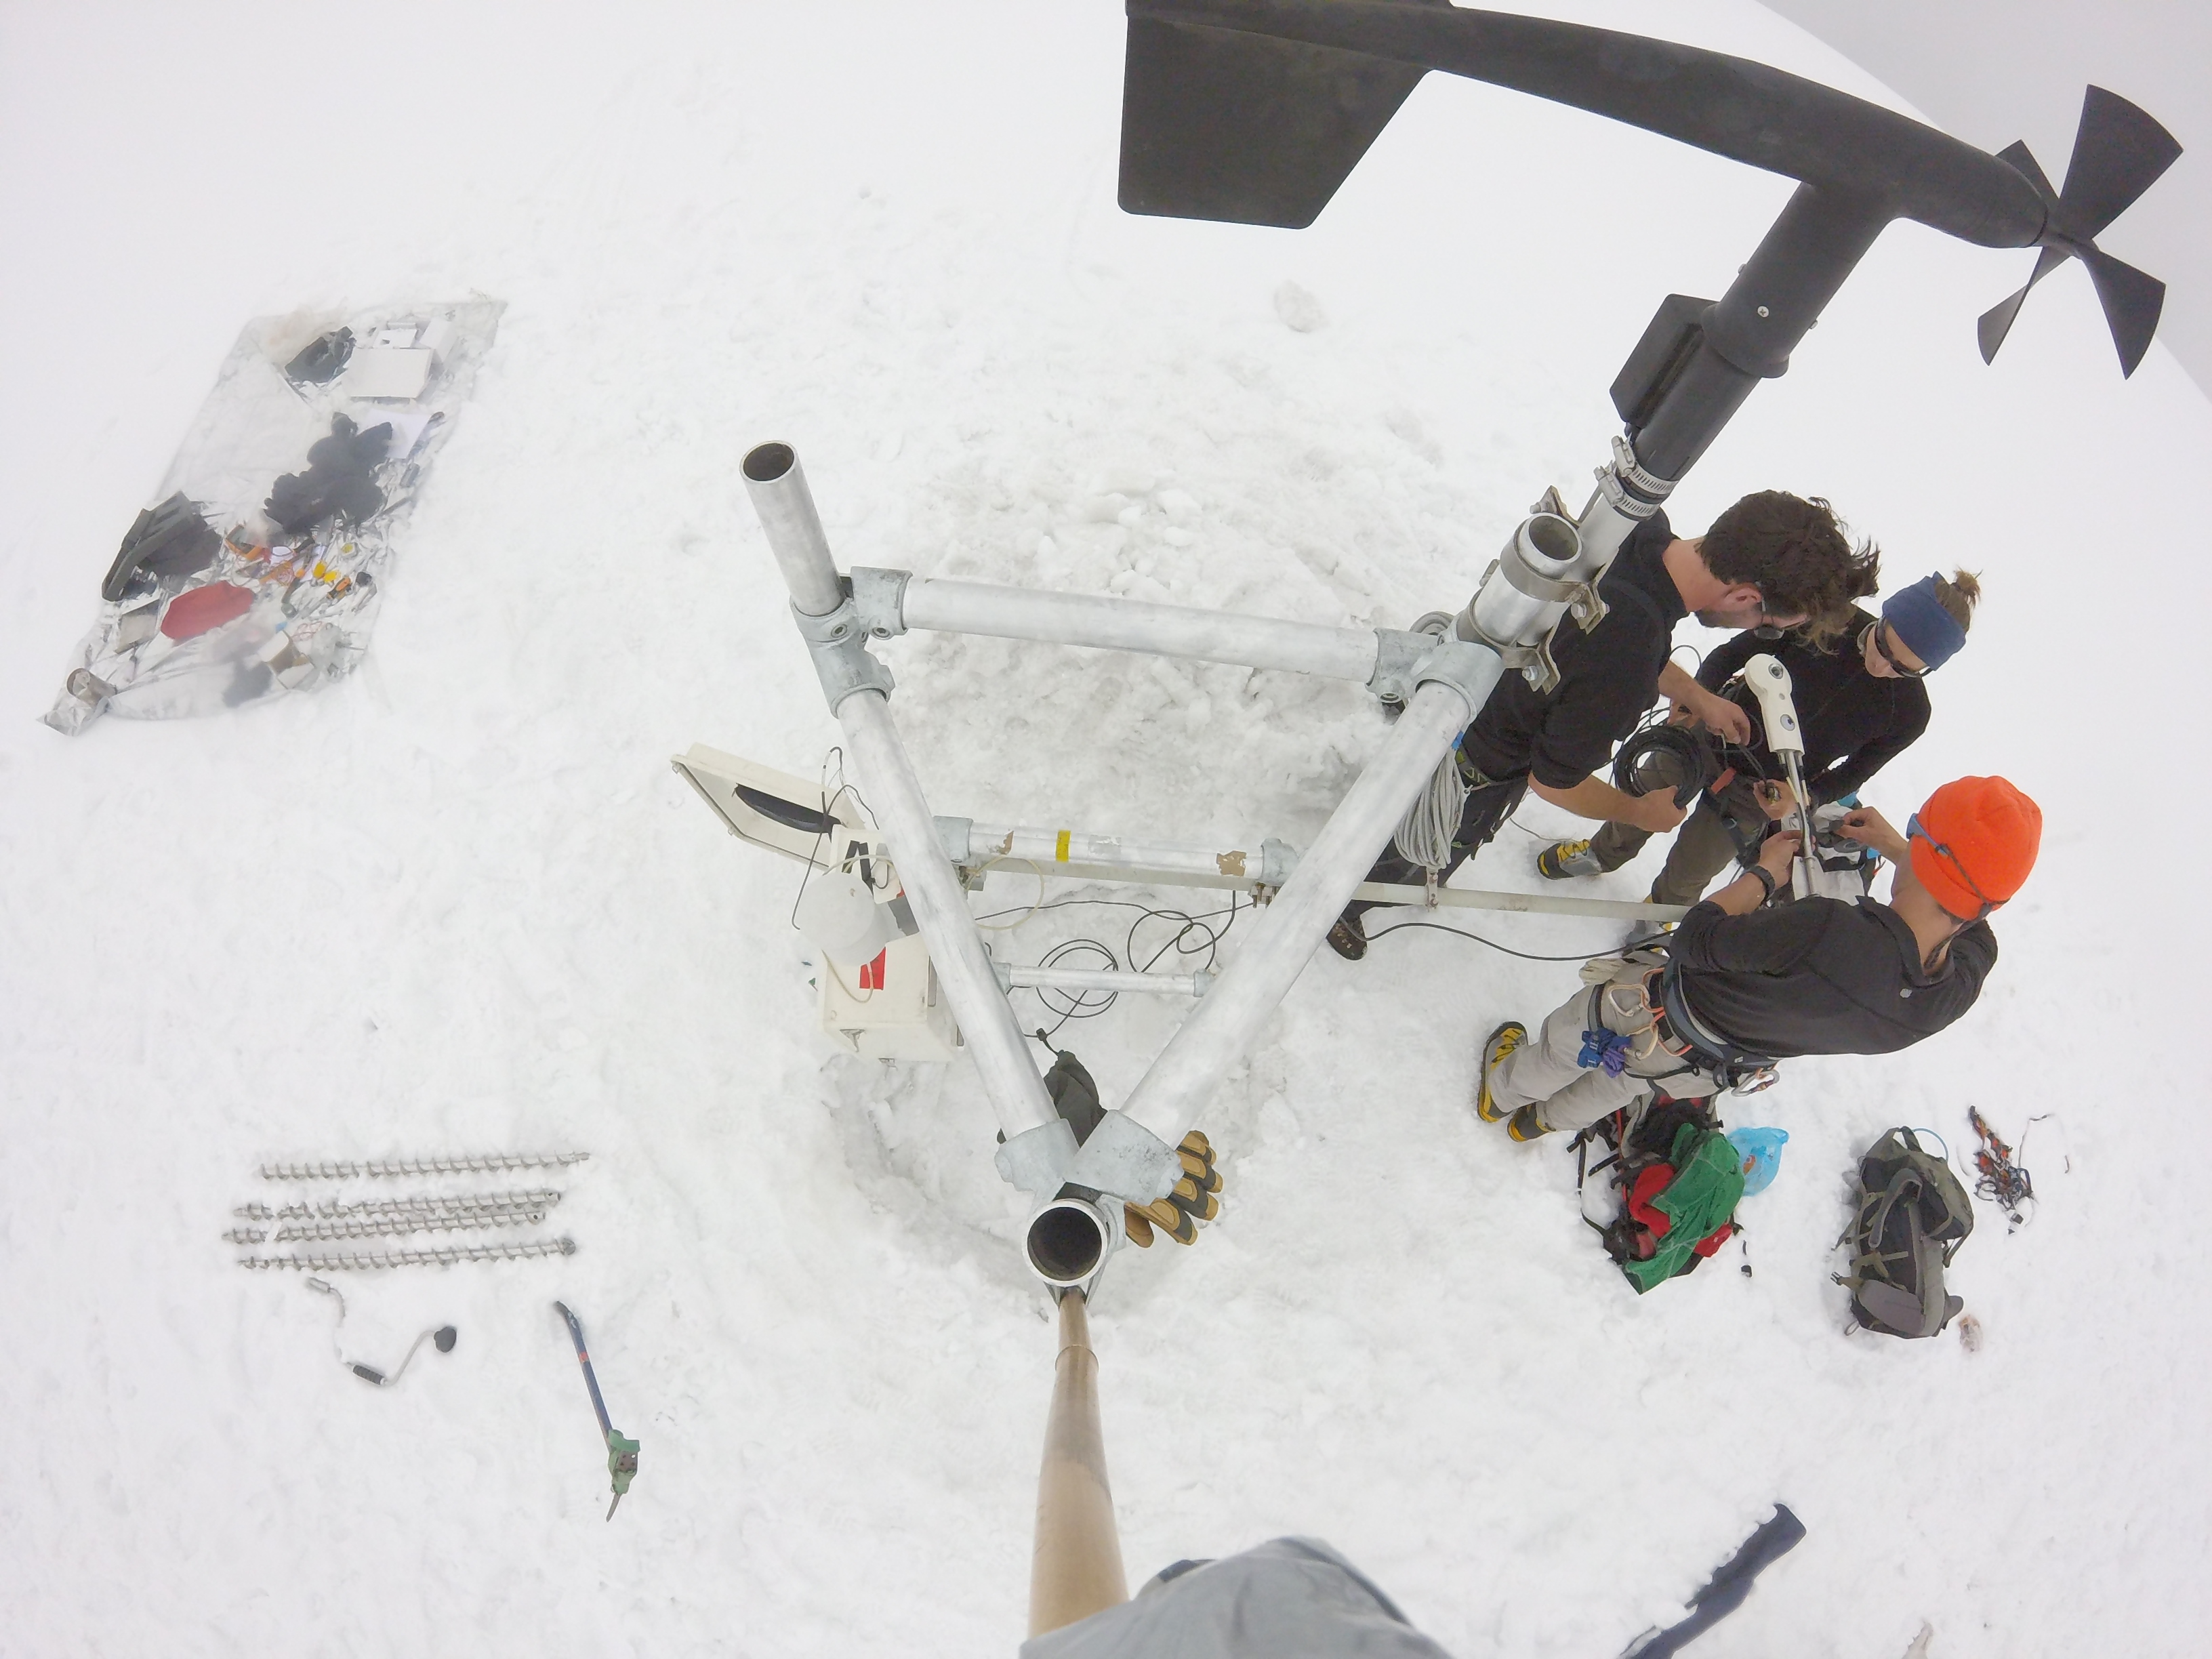
For the new station, we used a slick tower design that can be built up in the field (full credit to Alex Jarosch and Faron Anslow; tower recipe below or see P. 52-55 here). Essentially, we connect three 2.0 m aluminum pipes vertically to make a 6.0 m tall triangular structure. Horizontal supports brace the top 2.0 m of the tower, and the bottom 4.0 m of each leg is drilled in to the ice. If you’re going to try this at home, don’t forget to stick small plastic caps on the bottom of the pipes that go in the ice. Without these, the weight of the tower would be supported on a very small surface area and it would melt into the ice – probably due to heat conduction through the aluminum. If the tower sinks into the ice during the experiment, the surface height measurements are meaningless. (Thanks, experience!)
Once the base and the tower are installed and leveled, the waterproof enclosure (which contains the battery, solar charge controller, and the datalogger) and all sensors were mounted to the tower. In the time-lapse animation shown below, you can see the clouds rolling up and down over us as we mount the sensors. In response, we shed layers and then put them back on, because the thickness of the cloud layer really affects the ‘felt’ temperature at the surface (you should really read the technical explanation below). Air temperatures during the setup hovered around 0C.

The full installation took only half a day, and we were back drinking tea in camp by mid-afternoon (though thankfully not upside down and with straws). But getting the equipment and the tower components up there literally took a small army. We have nothing but huge gratitude and respect for Dawa Sherpa and Ngawang Sherpa who helped haul everything up the glacier, and to all the trekking agency staff who carried everything up from the trailhead at 1600 m to the basecamp at 5000 m.
[Thanks to Maxime Litt and Desiree Treichler for their help in the field, but also for the pre-field testing and programming. This is a critical step in the recipe.]
Glacier Station Recipe
- 9 x 2.0 m aluminum pipe (48.25 mm OD)
- 9 x 0.50 m aluminum pipe (48.25 mm OD)
- 3 internal pipe connectors
- 3 external pipe connectors
- 3 plastic cap ends (large corks also approved)
- 18 x 90 degree joints (48.25 mm OD)
- Ice auger (4-5 m)
- Plumber’s level
- Tools
- AWS components and all mounting hardware (!)
- Patience
- Reasonably good weather
- Preparation, preparation, preparation
Radiation Balance Details
The net radiation at the surface (Q*) can be calculated from incoming and outgoing shortwave and longwave radiation:
Q* = Sin – Sout + Lin – Lout
Shortwave radiation comes from the sun: its highest at solar noon, and zero at night. But the amount of radiation reaching the surface depends on clouds and the atmospheric conditions, and the amount of shortwave radiation absorbed at the surface depends on the reflectivity (or albedo) of the surface. Brighter surfaces reflect more radiation, and have a higher albedo, which means less energy available for melt.
Longwave radiation is a mainly function of temperature: incoming longwave radiation is emitted by the atmosphere, and the earth’s surface emits longwave radiation upwards. Temperatures near the surface will be warmer on cloudy nights because the clouds both (a) emit greater longwave radiation towards the surface than a clear sky and (b) trap some of the longwave radiation emitted by the ground. Incoming longwave radiation is also a function of water vapour in the atmosphere, which affects the temperature profile.


